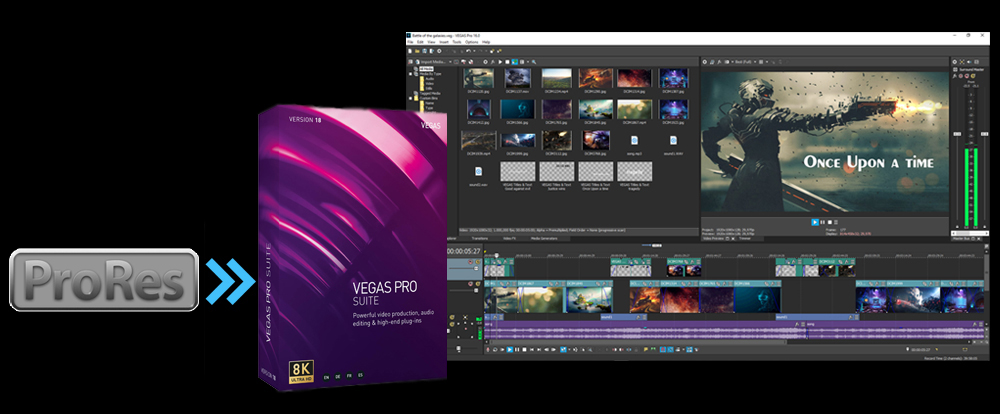
“Vegas Pro 18 doesn’t “see” all ProRes-clips (.mov) – To my question: I have recorded a theater performance. There are eight .mov files on the SD card. Vegas Pro 18 can only recognize three in the media manager. The others can not be imported (with my knowledge). Blackmagic Design Pocket Cinema Camera has the same effect. Technically, all clips are identical. (ProRes 422, 4096 x 2160p, 59.94fps).”
Many modern video cameras output in the ProRes format, which creates .mov files and you may need to import into Vegas Pro 19, 18, 17 to edit together and work on as you desire. Although the file format is standard, you may sometimes can’t import ProRes files to Vegas Pro 19 due to some unknown problems. To resolve this issue, the simple workaround is to transcode ProRes files before bringing them into Vegas Pro. Here is the simple how-to.
100% Working Solution to Fix “Can’t Import ProRes File to Vegas Pro” Error
— Convert ProRes to Vegas Pro supported H.264, MPEG-2 or WMV3 codec
The Vegas Pro ProRes file import failure may be caused by Vegas Pro version, the ProRes file codec, the ProRes file frame rate, the ProRes file size, or your computer process etc. And it’s hard to figure out the exact reason for your failure without obtaining more knowledge from you. Then, transcoding ProRes files becomes a highly recommended method, especially if your ProRes files are in high-bitrates/framerates and you don’t have a high-end computer.
ProRes codec, which is very hard to deal with during video editing. So, it’s not a bad idea to convert ProRes to a codec like H.264, MPEG-2 or a more more popular format like MP4, WMV, MPG. To do this, you can adopt Acrok Video Converter Ultimate for help.
This program makes an easy work of converting ProRes videos to Vegas Pro supported formats so as to fix ProRes codec incompatibility issues. As for the video quality, don’t worry too much. With the constantly updated conversion algorithm and the advanced high quality technology, it guarantees you the output video with up to 98% quality reserved, wrinkles or freckles in image still clear enough to count.
Codec correction (or conversion) is just the tip of the iceberg that it can handle. In terms of the compute-intensive 4K files, it’s also a decent performer, letting you downscale 4K to 1080p, lower 60FPS to 30FPS, adjust bit rate, etc. to better suit your PC hardware configurations and to ensure a smooth ProRes file importing and latter editing.
Tutorial: How to decode ProRes to Vegas Pro supported codec/format?
PS: The step-by-step guide is almost the same on PC and Mac. Here we will take Acrok Video Converter for Windows as the example.
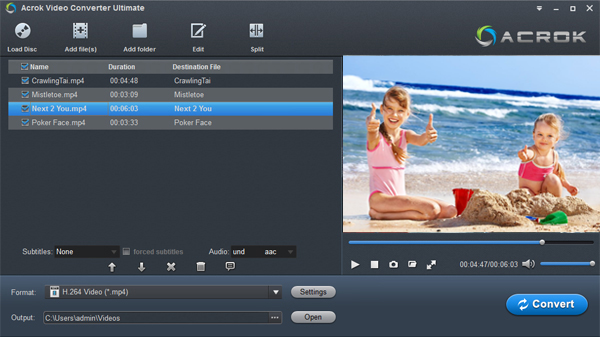
Step 1. Download and launch Acrok Video Converter Ultimate on Windows PC. Click “Add file” button to import your ProRes video files. Dragging and droppping works too.

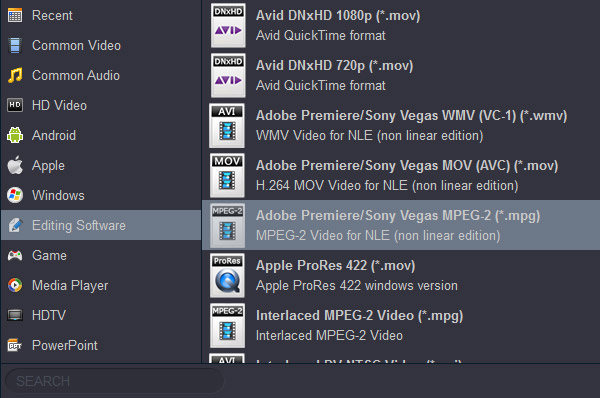
Step 2. Click “Format” pull down list, move mouse cursor to “Editing Software”. To encode the incompatible ProRes video for editing in Vegas Pro 19, 18, 17, 16, 15, etc., you can select MPG (encoded by MPEG-2 codec), MOV (codec: H.264) as the output profile.

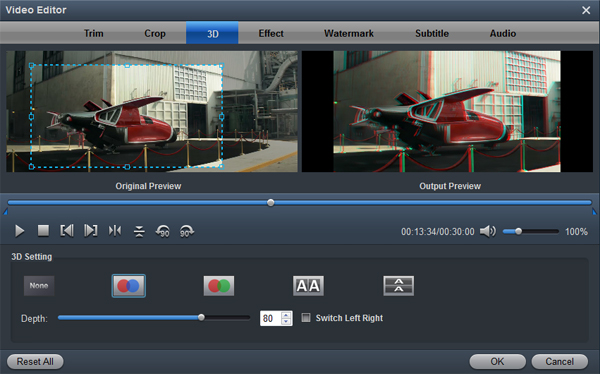
Step 3. You can cut, crop, merge, add effects, etc. to make some easy video edits in a linear manner with ProRes to Vegas Pro Converter. You can also click “Settings” button to adjust the codec, resolution, frame rate, bitrate, etc.

Step 4. Click “Convert” to start converting the ProRes to Vegas Pro supported codec. After conversion just click the “Open” button to locate converted video files for Vegas Pro 19, 18, 17 post-production seamlessly.
Other 2 Possible Solutions to Solve Vegas Pro Doesn’t Import Certain ProRes Clips
Possible Solution 1: Upgrade Vegas Pro from old version to the newest version.
The ProRes file import failure may be caused by an old version of Vegas Pro. You can try to upgrade it to a newer version to see if that improves the behavior.
Possible Solution 2: Upgrade your Computer Hardware
After upgrading the Vegas Pro on your PC, if you are still stuck by the Vegas Pro ProRes file importing issues, consider upgrading your hardware then.


No responses yet